If you've noticed an unexpected rise in your water bill or are hearing the constant drip of a leaky faucet, chances are, you've got a water leak somewhere in your home. Whether it’s a small dribble from a pipe or a more serious issue, addressing the leak promptly is important to prevent water damage, higher utility costs, and strain on your home's plumbing system. This guide will walk you through how to fix a water leak yourself, so you can stop the drip and start saving water.
Identifying the Leak
Before you grab your toolbox, it's essential to identify the source of the leak. Leaks can show up in various places, including pipes under sinks, around water heaters, or even in hidden locations within walls or floors.
Signs of a water leak include:
1. Increased water bills
2. Visible water stains on ceilings or walls
3. A constant dripping sound from faucets or pipes
4. Damp patches in unexpected areas
Finding the leak early can help prevent more serious damage and potentially save you a significant amount of money in repairs down the road.
Fixing a Leaking Pipe

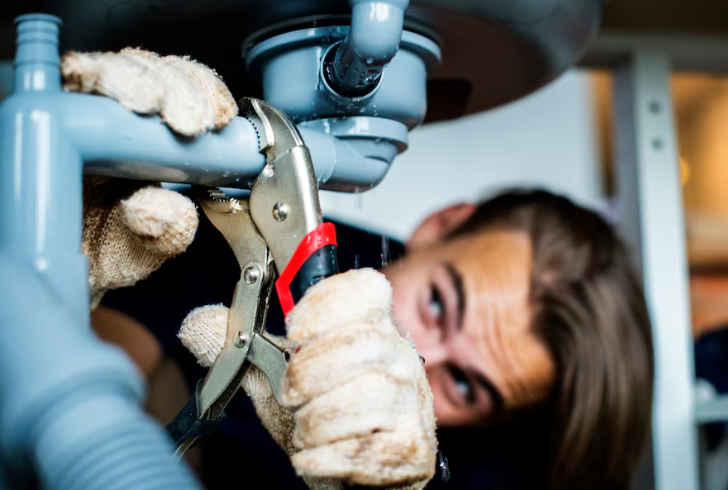
Freepik | rawpixel.com | If the leak is from a joint, tightening the loose connection may stop the water flow.
One of the most common types of leaks in a household is a leaking pipe. Depending on the severity of the issue, you may be able to fix it yourself before calling in a professional plumber. The first step in how to fix a water leak from a pipe is to turn off the water supply. This can be done at the nearest water valve to the leak or the main stopcock, typically located under the kitchen sink.
Once the water supply is shut off, you’ll need to drain the pipe by turning on the taps connected to it. This will release any water still trapped inside the pipe and allow you to dry it off before assessing the cause of the leak.
Here are a few common causes of pipe leaks and how to address them:
1. Loose Joints
If the leak is coming from a joint, it could be due to a loose connection. Tightening the joint may be all that’s needed to stop the water flow. Most joints can be tightened by hand, but it’s useful to have a spanner or adjustable wrench handy for a more secure grip.
2. Cracked or Split Pipes
Pipes can crack or split over time, especially if they’ve corroded or been hit during DIY work. If you identify a crack, temporary measures such as using plumber’s tape or epoxy paste can help stop the leak until a more permanent solution is found.
Temporary Solutions for Sealing a Leaking Pipe
While waiting for a plumber to arrive, there are a few temporary fixes you can try to seal a leaking pipe and prevent water damage in the meantime. You’ll need plumber’s tape and epoxy paste, both of which can typically be found at your local hardware store.
Follow these simple steps to temporarily seal a leaking pipe:
1. Turn Off the Water Supply - Ensure the water supply is completely shut off to avoid more water damage.
2. Locate the Leak - Find the exact point of the leak on the pipe.
3. Apply Plumber’s Tape - Wrap the plumber’s tape tightly around the leak, ensuring it covers the area fully.
4. Use Epoxy Paste - Apply the epoxy paste to any remaining exposed areas or cracks.
5. Wait for It to Set - Let the paste dry for 20-25 minutes to ensure it hardens and seals the leak effectively.
These temporary fixes will keep things under control until a professional can assess the damage more thoroughly and recommend a permanent solution. Always remember that these methods are short-term, so replacement or professional repair is advisable in the long run.
How to Handle a Leaking Hot Water Heater

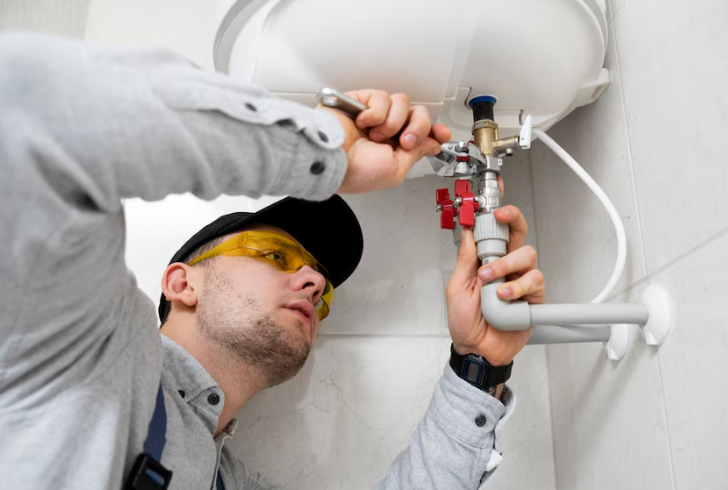
Freepik | If the leak is from the bottom of the water heater, it may be a faulty drain valve. Tighten it. If it continues, call a plumber.
A leaking water heater can cause disruptions to your daily routine, especially if you rely on it for heating water. If you're noticing a water leak from your heater, here's how to address it.
Step 1 - Turn off the Supply
For electric heaters, switch off the breaker that controls the water heater. For gas models, turn the control valve off. If the leak is substantial, you might also need to turn off the main water supply.
Step 2 - Identify the Leak Source
Leaks from water heaters can stem from a few different sources, including:
1. Cold Water Inlet or Hot Water Outlet - These connections could be loose and might need tightening with a pipe wrench.
2. Temperature and Pressure Relief Valve (PRV) - This valve prevents the heater from overheating or being over-pressurized. If it's leaking, inspect it to see if it's stuck open or closed. In many cases, the valve will need replacing.
3. Drain Valve - If the leak is coming from the bottom of the tank, it could be due to a faulty drain valve. Tighten it securely or call a plumber if the problem persists.
Step 3 - Examine the Internal Tank
An internal leak in a water heater is harder to detect. If water is pooling at the base of the unit and there’s no visible source, the internal tank may be damaged. In this case, replacing the tank may be more cost-effective than attempting repairs.
When to Call a Professional
While DIY fixes can help manage minor leaks, certain situations will require professional intervention. If you’re unsure about the extent of the damage, it’s best to consult an expert. Major leaks—such as those caused by faulty plumbing or a deteriorating water heater—often need immediate attention to prevent further property damage or even mold growth.
If you have tried fixing a leak with temporary solutions and the problem persists, it’s a good idea to have a professional plumber come in for a proper assessment and repair.
Knowing how to fix a water leak can be an essential skill for any homeowner. Whether it’s a leaking pipe or a hot water heater issue, acting fast can prevent significant water damage and help you avoid costly repairs down the line. While temporary solutions can work in a pinch, it’s always a good idea to have a professional inspect the situation for a long-lasting fix.


