
A smooth, flawless wall is essential in any home, adding to the aesthetic appeal and overall structure. When drywall gets damaged, it might seem challenging to repair. However, fixing drywall can be straightforward with the right tools and approach. From minor nail holes to significant gaps, each repair step ensures durability and a polished finish. Let’s break it down into manageable steps to make the task stress-free.
Tools and Materials You’ll Need
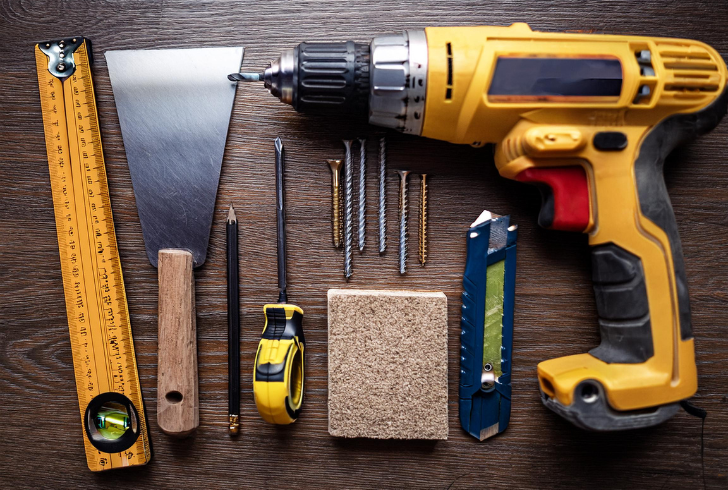
Image by gencraft AI | Gather these tools for drywall installation.
1. Drywall sheet
2. Joint compound (often referred to as "mud")
3. Putty knife or joint knife
4. Drill and drill bits
5. Drywall screws
6. Utility knife
7. Measuring tape
8. Stud finder
9. Level
10. Scrap wood
11. Sanding block
1. Evaluate the Damage
Before heading to the store, take a close look at the damaged area. You’ll only need basic materials like spackle and a putty knife for small nail holes or cracks. For larger holes, such as coin-sized openings, mesh tape is essential to secure the drywall mud. Significant gaps or damage often require a new patch of drywall. Additionally, ensure you measure the thickness of the existing drywall—it’s typically 3/8", 1/2", or 5/8" thick—to match your replacement piece.
2. Prepare the Area
Effective preparation lays the foundation for a seamless repair. First, cut a clean hole around the damaged section. While expanding the damage might feel counterproductive, this step ensures a sturdy and smooth result. Use a stud finder to locate studs around the damage and mark clean lines above and below the area using a level. A jab saw works best to cut along these lines. Once the studs are exposed, mark their centers for accurate measurements.
Pro Tip: In older homes, you might encounter layered drywall. If that’s the case, adjust your patch to fit the varying thicknesses.
3. Secure a Support Piece
Drywall alone isn’t strong enough to handle significant pressure. To reinforce the patch, attach a piece of scrap wood inside the wall behind the hole. Secure the wood by driving drywall screws through the existing drywall into the support piece. This added layer strengthens the patch and prevents future cracking.
4. Measure and Cut the Patch
Accurate measurements are key to a proper fit. Measure the opening and cut the drywall patch slightly smaller, leaving about 1/8" around the edges for easy placement. Use a utility knife to score the drywall’s surface and snap off the piece cleanly. For irregular holes, trim the patch carefully with a utility knife or drywall rasp.
5. Install the Patch
Carefully position the drywall patch into the opening. If it doesn’t fit smoothly, trim any excess material rather than forcing it in. Once the patch fits snugly, secure it with drywall screws, making sure the screw heads sink slightly below the surface to accommodate the joint compound.
6. Tape and Apply Joint Compound
Sealing the edges is crucial for a smooth, professional look. Cover the gaps with self-adhesive mesh tape. Apply the first layer of joint compound over the tape and edges, filling voids evenly. Allow the compound to dry completely before sanding it smooth. Repeat the process for additional coats if necessary, ensuring a flawless finish before painting.
Pro Tip: Screw holes may absorb the compound, creating small voids. To avoid this, apply a little extra compound over screws during the initial application.
Achieving a Perfect Finish
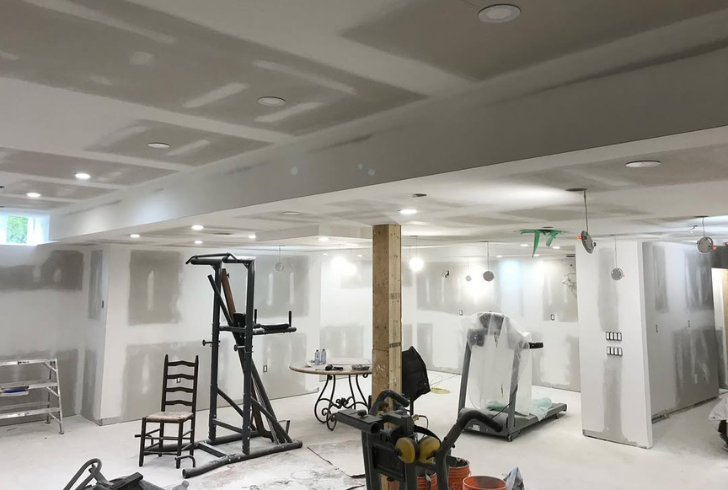
Instagram | drywallprofinishing | Smooth and paint for a perfect finish.
Once the compound is dry and sanded, paint the patched area to match the rest of the wall. For best results, use a primer before painting to ensure consistent color and texture. Repeat sanding and painting if needed until the repair blends seamlessly with the wall.
Quick Recap of Key Steps
1. Evaluate Damage: Understand the repair scale to gather suitable materials.
2. Prepare the Area: Cut clean lines for a strong foundation.
3. Add Support: Secure scrap wood to stabilize the patch.
4. Measure and Cut: Ensure a precise fit for the drywall patch.
5. Tape and Mud: Apply joint compound for a smooth finish.
A perfectly patched drywall not only restores the wall’s integrity but also improves your home’s overall appearance. Why not try these steps yourself and experience the satisfaction of a successful DIY project? We’d love to hear your stories and tips—share your success with us! With these simple steps, anyone can achieve professional results and enjoy the satisfaction of DIY success.