We are all now familiar with the fundamentals of smartphone photography: You remove your phone from your pocket and press a button. For most of us, it's that simple. But if you're serious about preserving these moments for future generations, you'll want your phone photos to look their best. Improve your smartphone photography with these pro suggestions.
As we shall explain, camera settings, lighting, scene modes, and composition may all play a role. And once you’ve perfected the appearance of your photographs, be sure to back them up in a secure location.
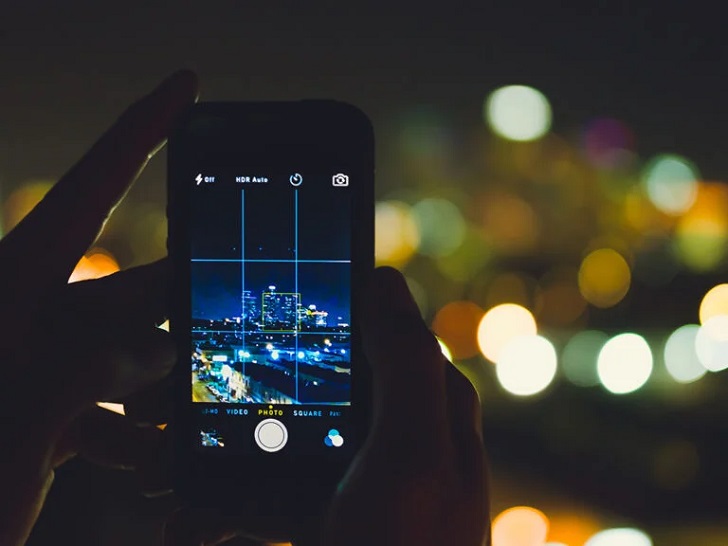
Pinterest/ Popsci | Adjust your focus when life gets blurry
Use gridlines to balance your shot.
Gridlines are one of the easiest and most effective techniques to improve your smartphone photographs. This overlays a set of lines on the camera screen of your smartphone that is based on the "rule of thirds" — a photographic composition guideline that states a picture should be divided into thirds, both horizontally and vertically, for a total of nine parts.
Arrange areas of interest at these intersections or along these lines. Your photograph will be more balanced and level and allow viewers to engage with it more organically according to this notion.
Use HDR
HDR mode, or High Dynamic Range, is becoming increasingly prevalent on smartphones. It adds detail to the dark and bright areas in order to get a more balanced exposure. In other words, it prevents the sky from being too bright or the ground from being too dark; therefore, it is ideal for landscape photography. If there is a significant contrast between your image's brightest and darkest sections, the HDR mode on your smartphone is a fantastic alternative.
Pinterest/ Popsci | There is one thing the photo must contain – the humanity of the moment
Adjust exposure
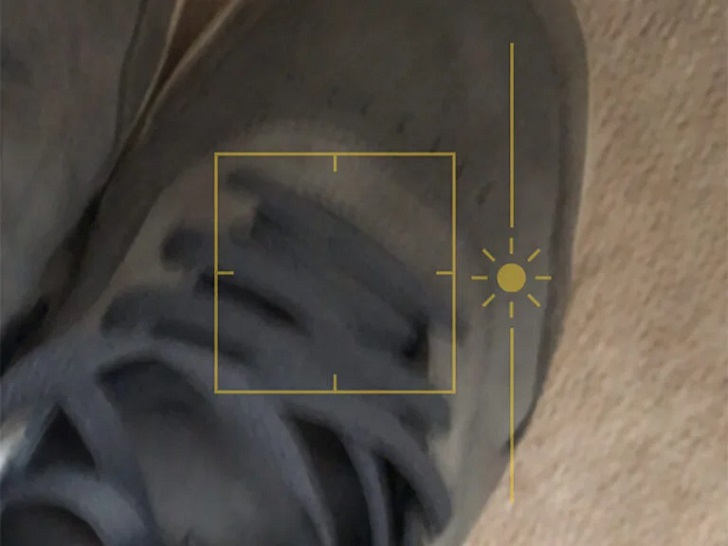
Smartphones are contemporary point-and-shoot cameras, but the applications that operate their cameras often allow for manual control. Exposure is the most fundamental adjustment you can make; by lightening or darkening a scene, you may transform a dull photograph into a captivating one. Use it to brighten the image of your expensive meal to make it suitable for Instagram or to darken portrait shadows for a more dramatic effect.
Not usually is the feature labeled the same. To brighten or darken an image on an iPhone, you must drag the sun icon to the right of the focus confirmation box up or down. The standard +/- icon often represents exposure adjustment on Android phones.
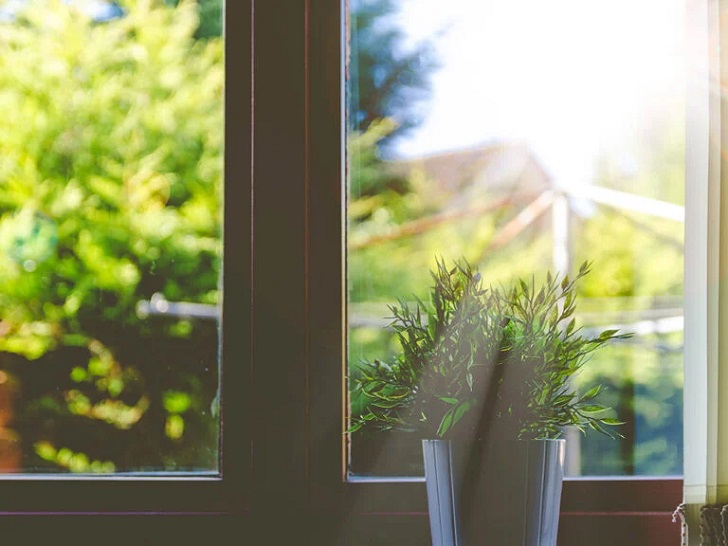
Always know where the light source is
Light is one of the most crucial aspects of every photograph. If you can take advantage of the available natural light, you can avoid using the flash on your phone.
Pinterest/ Popsci | Colors are the smiles of nature
If possible, arrange your subjects so they are well-lit from the front and not silhouetted by a harsh backlight. This is not always achievable with rapid pictures - but try your best.
Using artificial light can also be effective, but with greater caution. In a night setting, for instance, have your pals stand closer to the glow of artificial lights as opposed to deeper in the shadows, and ensure that their features are as well-lit as possible. Using the flash can be beneficial, but if you have the time, take a photo with and without the light to notice the difference.


