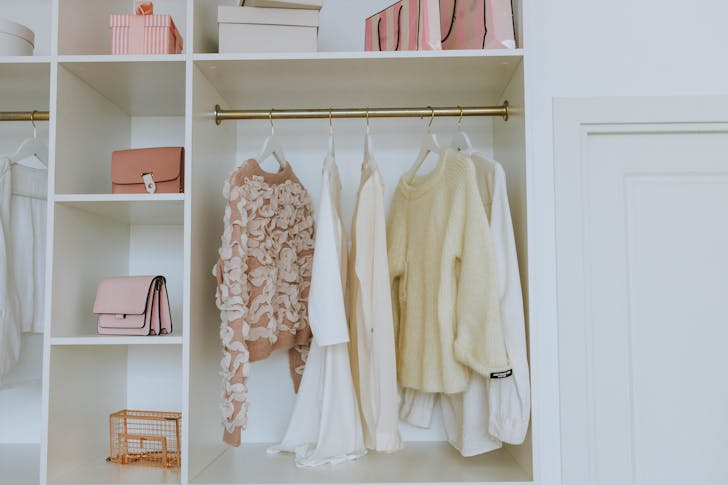
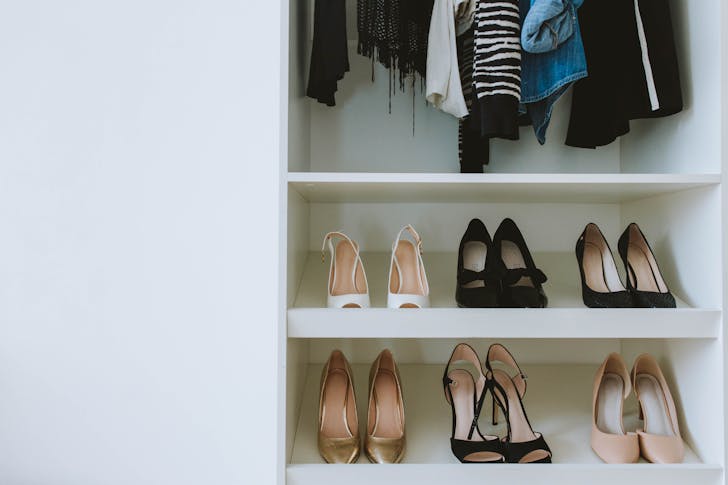
Are you tired of the clutter in your closet? Knowing how to build closet shelves can change your storage game. It is easier than you think and doesn’t require advanced carpentry skills. With a few tools, some basic materials, and a little creativity, you can transform your closet into a neat and organized haven.
Building your own closet shelves gives you complete control over the design. Whether you are maximizing a tiny space or adding flair to a walk-in closet, the process is straightforward.
Here are the top five steps to get the job done right:
How to Build Closet Shelves?
Before picking up any tools, start with a plan. Grab a measuring tape and carefully measure the width, height, and depth of your closet. This step is crucial because knowing how to build closet shelves starts with understanding the dimensions you are working with.

Anas / Pexels / Sketch out your design on paper. Decide how many shelves you want and how much space you will need between them.
Are you storing shoes, sweaters, or handbags? Tailor the shelf height to your storage needs. Remember, accurate measurements now save headaches later.
Choose the Right Materials
Selecting the right materials is key to sturdy and durable shelves. Plywood is an affordable option, but if you want a polished look, opt for melamine or hardwood. Once you have chosen your material, head to your local hardware store to have the boards cut to size. This step makes life much easier and ensures precise cuts.
Don’t forget brackets or supports for mounting the shelves. They come in various styles, so pick something strong enough to hold your items while matching your closet’s vibe. A mix of function and aesthetics goes a long way in creating shelves you will love.
Prep Your Tools and Space
Every project goes smoother when you are prepared. Gather all the tools you’ll need: a drill, level, screws, a pencil, and sandpaper. Lay everything out before you start. Clear your closet space, removing clothes and items, so you have room to work.
Lightly sand the edges of your boards to smooth them out. This step not only makes the shelves safer but also helps the paint or finish stick better. A little prep work now ensures a professional-looking final product.
Install the Supports
Now it is about time to attach the brackets or supports. Start by marking the spots where your shelves will go. Use a level to ensure straight lines. Crooked shelves are the bane of DIYers everywhere.
Drill holes where needed and secure the brackets to the wall.

Anas / Pexels / For added stability, try to screw into wall studs. If studs are not available, use wall anchors to ensure the shelves can handle some weight.
However, take your time with this step. Wobbly shelves are no fun to fix later.
Attach the Shelves and Add the Finishing Touches
With the supports in place, all that is left is attaching the shelves. Carefully place the boards onto the brackets and secure them with screws. Double-check that everything is level. A quick tweak now prevents future frustration.
For a polished look, consider painting or staining the shelves to match your closet’s style. Add baskets or bins for an extra layer of organization. The result? Custom shelves that look amazing and make your closet work for you.
Remember, learning how to build closet shelves is empowering. It is a practical project that adds functionality to your home while saving you money. Plus, the satisfaction of seeing your perfectly organized closet? Priceless.


